Pre-Treat Steps + Water Ratios + Drying Tips (Real-Life Method That Actually Works)
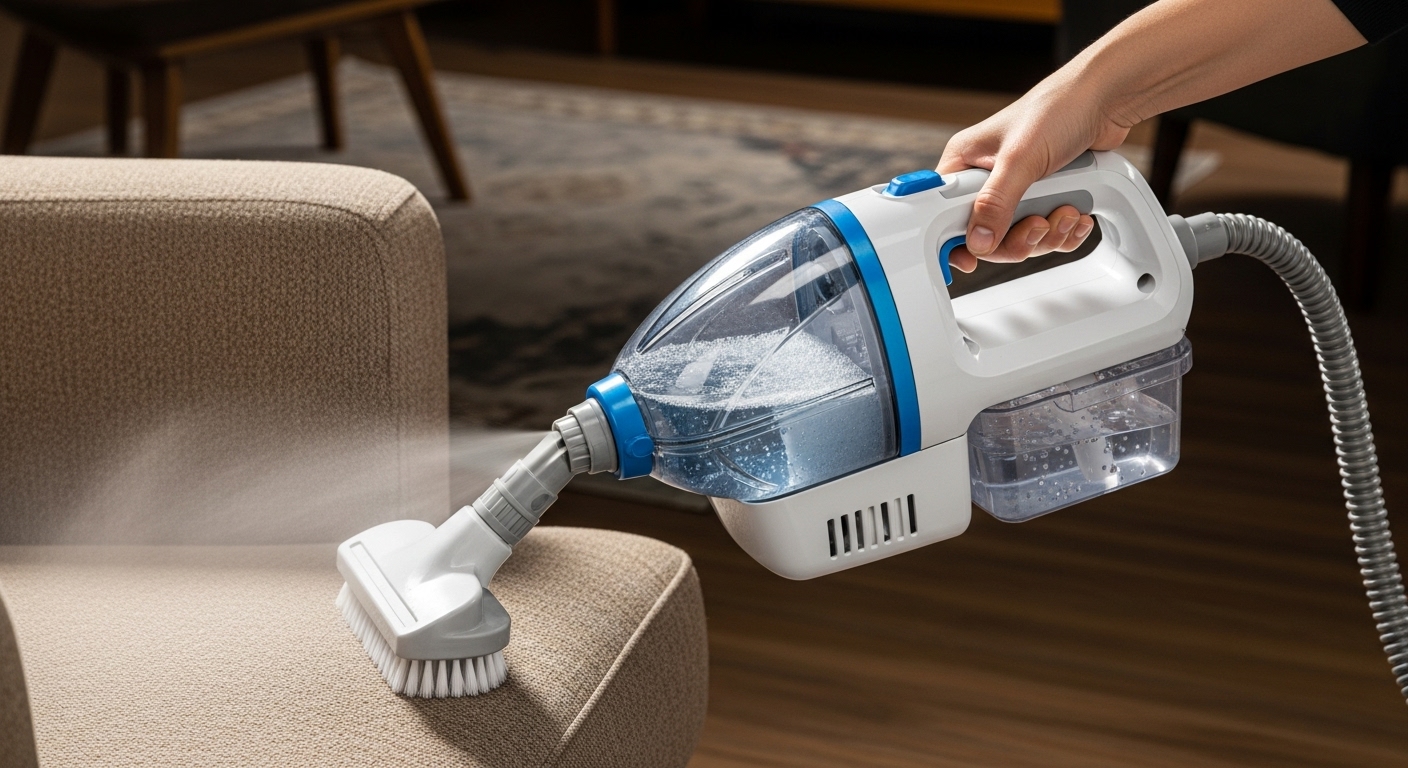
Portable upholstery cleaners are amazing when you use them right—and disappointing when you soak fabric or rush the extraction. The goal isn’t to flood the stain. The goal is to lift and extract it with the least moisture possible, so it dries fast and doesn’t smell weird later.
Below is a practical, step-by-step guide you can follow on couches, chairs, dining seats, stairs, rugs, and car seats.
Before You Start (2-minute check that saves headaches)
1) Check the fabric cleaning code
Most upholstery tags have:
- W = water-based cleaner is safe
- S = solvent only (avoid water)
- WS / SW = either is usually okay
- X = vacuum only (no liquids)
If it’s S or X, don’t use a water-based upholstery cleaner—spot clean carefully with appropriate methods.
2) Spot-test (always)
Pick a hidden area (back skirt, under cushion) and test:
- color bleeding
- texture change
- water rings
Wait 10–15 minutes and check.
3) Vacuum first (non-negotiable)
Dry debris turns into muddy paste when wet. Vacuum:
- crumbs
- hair
- grit in seams
Use a crevice tool along edges and under cushions.
Step-by-Step: The Best Way to Clean Upholstery (Without Over-Wetting)
Step 1: Blot, don’t rub
For fresh spills:
- press paper towels or a clean microfiber towel into the spot
- blot from outside → inward
Rubbing pushes stain deeper and frays fabric.
Step 2: Pre-treat the stain (the part most people skip)
Pre-treating makes extraction easier and reduces how much water you need.
Option A: Use a dedicated fabric pre-treat (best)
- Spray lightly
- Let it sit 5–10 minutes (don’t let it fully dry)
Option B: DIY pre-treat (safe general method)
Use this only if your fabric code allows water and you’ve spot-tested.
- Mix 2 cups warm water + 1/2 teaspoon clear dish soap
- Optional for odor: add 1 tablespoon white vinegar
Apply with a spray bottle (light mist) or damp cloth—do not soak.
For urine / organic odors (pets, vomit):
- A pet enzyme pre-treat works best
- Give it more dwell time (10–15 minutes)
- Don’t blast it with heat immediately afterward
Step 3: Prepare the tank (water ratios)
Most portable cleaners work best with warm (not hot) water.
General safe ratio (if you don’t have manufacturer guidance):
- Warm water + a very small amount of solution
- Aim for about 1–2 teaspoons of cleaning solution per 1 liter (about 1 quart) of water
Why so little? Too much solution often leaves residue that:
- attracts dirt later
- creates water rings
- makes fabric feel sticky
Important: If your machine’s manual specifies a ratio, follow that first. Some formulas are concentrated and differ a lot.
Step 4: Clean with controlled passes (this is the key)
Most people over-spray. Instead, do this:
The “1 wet pass / 3 dry passes” rule
- Wet pass: squeeze trigger lightly and move slowly
- Dry pass 1: release trigger, go over the same line slowly
- Dry pass 2: same area again, no spray
- Dry pass 3: cross-pass (perpendicular), no spray
This pulls out far more dirty water and cuts dry time dramatically.
Step 5: Don’t chase perfection in one session
If it’s a tough stain:
- do one controlled cleaning round
- let it dry 60–90 minutes with airflow
- then do a second round if needed
This prevents over-wetting and “wicking” (stain reappearing as it dries).
Water Ratios Cheat Sheet (Simple + Safe)
For light stains / routine refresh
- Mostly warm water
- Tiny amount of solution (about 1 teaspoon per liter)
For greasy food stains (chips, sauce)
- Pre-treat longer (10 minutes)
- Keep solution low—grease needs time, not more soap
For protein stains (milk, vomit, urine)
- Use enzyme pre-treat
- Give it dwell time
- Extract thoroughly with extra dry passes
For odor focus
- Enzyme pre-treat + thorough extraction
Avoid heavy fragrance solutions that mask odor but don’t remove it.
Drying Tips (How to Avoid Smell, Rings, and “Stiff Fabric”)
1) Airflow beats heat
Use:
- a fan pointed at the area
- open windows if possible
- a dehumidifier in humid climates
Avoid high heat on delicate fabric; it can set some stains and cause shrinkage.
2) Speed-dry cushions correctly
If you cleaned a cushion:
- unzip if possible
- stand it upright so air circulates
- flip it halfway through drying
3) Prevent water rings
Water rings often come from cleaning only the center. Instead:
- lightly blend outward past the stain edge
Think “feather the area,” not a hard circle.
4) Don’t sit on it too soon
Pressure pushes moisture deeper. If you must use it:
- put down a dry towel and sit lightly
- better: wait until fully dry
Common Mistakes (and what to do instead)
Mistake 1: Over-soaking
Fix: Fewer wet passes, more dry passes. Do a second session later.
Mistake 2: Using too much soap/solution
Fix: Reduce solution drastically, rinse with clean water if fabric feels sticky.
Mistake 3: Skipping vacuuming
Fix: Always vacuum first. It improves results immediately.
Mistake 4: Not cleaning the machine afterward
Dirty tanks cause:
- bad smells
- weaker suction
- bacteria buildup
Fix: rinse tanks, flush the tool/hose with clean water, leave open to dry.
After-Clean Maintenance (5 minutes that keeps it fresh)
- Empty dirty tank immediately
- Rinse tanks with warm water
- Run clean water through the tool/hose for 30–60 seconds
- Remove hair/lint from the tool head
- Leave everything open to air dry
Quick FAQ
Why does a stain come back after it dries?
Usually wicking—moisture reached deeper layers and pulled residue up as it dried. Next time: less water, more dry passes, and let it dry fully before re-treating.
Can I use vinegar in the machine tank?
I don’t recommend it unless your manufacturer approves it. Vinegar can affect seals or leave odor if overused. Use it lightly as a pre-treat instead.
Warm or hot water?
Warm is safer. Hot water can set some stains and may not be recommended for all machines.