Mapping Tips + Maintenance Checklist + Common Mistakes (Real-Life Guide)
A robot vacuum is one of those devices that can feel “life-changing”… or annoyingly dumb. The difference usually isn’t the robot—it’s setup, mapping, and maintenance. Do those right once, and you get clean floors on autopilot.
This guide is written like a real home checklist: what to do the first day, how to map properly, what to maintain, and the mistakes that quietly ruin performance.
1) First-Day Setup (Do This Before the First Run)
Pick the right spot for the dock
- Put the dock on hard floor (not thick carpet if possible).
- Give it breathing room:
- About 1–2 feet (30–60 cm) clear space on each side
- About 3–5 feet (1–1.5 m) in front
- Avoid tight corners, behind doors, or next to steps.
Charge fully before mapping
Most bots map better with a full battery. A half-charge often leads to a broken-up map or multiple partial runs.
Update firmware + app first
It sounds boring, but updates often fix:
- navigation issues
- docking problems
- map saving errors
- obstacle avoidance behavior
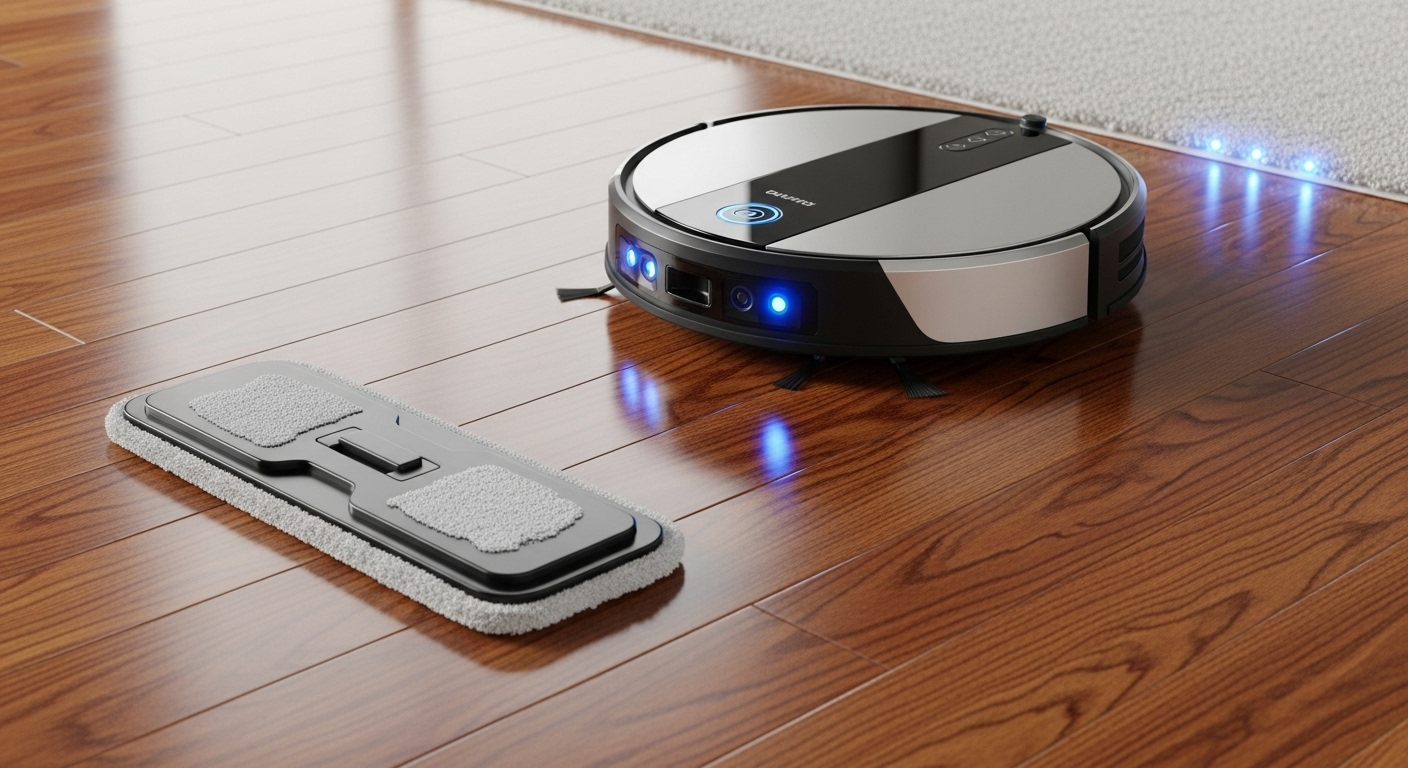
2) Mapping Tips (How to Get a Clean, Accurate Map)
Do a “clean mapping run” (no cleaning chaos)
For the first map run, make the floor as “simple” as possible:
- Pick up loose cables and small toys
- Lift light chairs if you can
- Remove messy floor mats that bunch up
- Open doors to rooms you want included
Goal: Let the robot see the layout without interruptions.
Turn on lights and open curtains
Robots using cameras (or hybrid systems) behave better with decent lighting. Even LiDAR bots benefit because it reduces weird edge decisions around mirrors and glossy surfaces.
Let it finish—don’t babysit-stop it
Stopping it mid-map can create:
- duplicate rooms
- missing areas
- broken boundaries
If it gets stuck, free it and resume, don’t restart unless the map is totally messed up.
Name rooms and set zones immediately
Once the map is saved:
- Label rooms (Kitchen, Hallway, Bedroom)
- Create no-go zones (cables corner, pet bowls area)
- Create no-mop zones if you use mopping
- Add “high-traffic” zones for more frequent cleaning
Do “2-pass mapping” for tricky homes
If your home has:
- long hallways
- multiple rugs
- lots of furniture
Do this:
- First run: open layout, less clutter
- Second run: normal layout
This usually stabilizes room boundaries.
3) Scheduling That Actually Works (Not Just “Every Day”)
The best schedule depends on dirt type
Pet hair / long hair:
- Run vacuum daily in main areas
- Spot clean bedrooms every other day
Kids / crumbs:
- Run after meals in kitchen/dining zone
- Run full-home “reset” at night
Mostly hardwood + low mess:
- Run every other day, focus on entry + kitchen more often
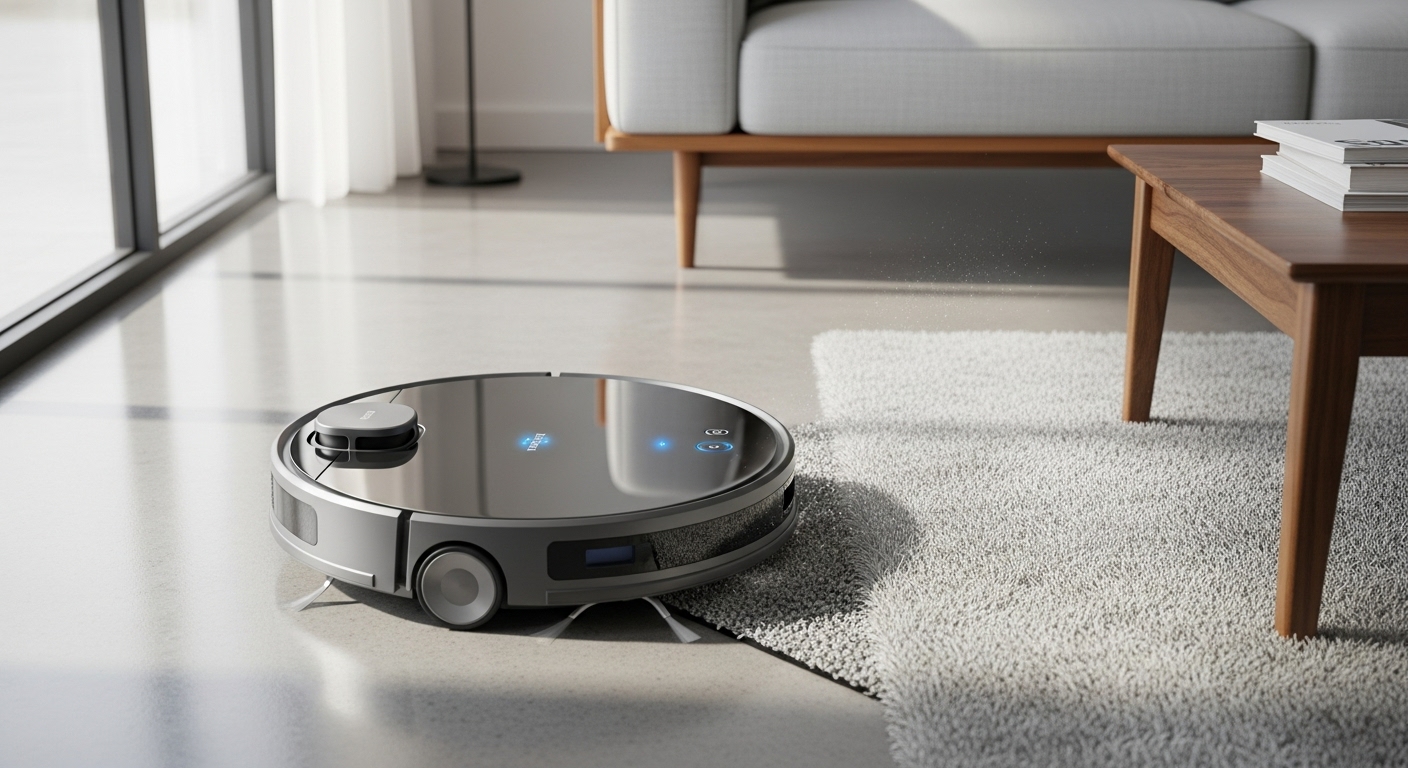
Use zone cleaning instead of whole-house every time
Whole-house runs are great, but the secret is:
- Kitchen zone daily
- Entryway zone daily
- Living room every other day
- Bedrooms 2–3x/week
This keeps floors cleaner with less battery waste.
4) Maintenance Checklist (Simple but Non-Negotiable)
Daily (30 seconds)
- Empty the dustbin (or check the base if self-empty)
- Quick look at the brush area for hair buildup
- Wipe obvious sensor dust if you notice it acting weird
Weekly (5–10 minutes)
- Remove and clean the main brush/roller
- Clear hair from end caps (where it wraps most)
- Clean the side brush
- Tap out / rinse the filter (only if your filter type allows rinsing—many don’t)
- Wipe sensors and charging contacts with a dry microfiber cloth
Every 2–4 weeks
- Deep clean the bin and air path
- Replace/rotate worn brushes
- If you mop: wash mop pads thoroughly and clean the water tank
Every 2–3 months (typical)
- Replace filter (more often in pet homes)
- Replace side brush if bent or frayed
- Check wheels for hair threads wrapped inside
Pet homes tip: Hair acts like lint—it slowly blocks airflow. If suction suddenly feels “meh,” it’s usually filter + brush + air path, not the motor.
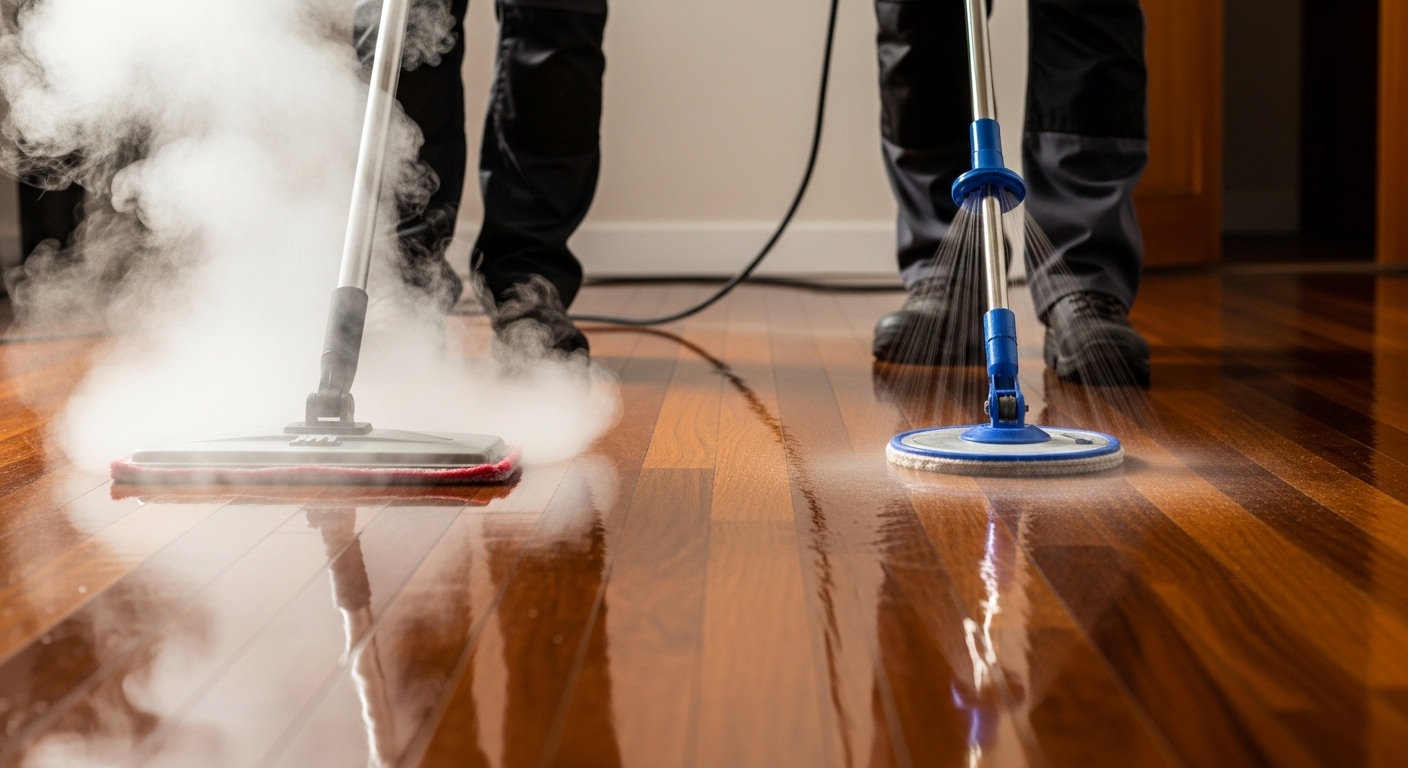
5) If You Use Mopping: How to Avoid Streaks and Smells
Vacuum first, mop second
Mopping over dust = streak city. Many bots can do vacuum-then-mop automatically; if not, run a quick vacuum pass first.
Use lower water flow than you think
Hardwood and laminate usually look best with low/medium water. High water often causes:
- streaks
- dull film
- wet edges near baseboards
Clean mop pads often
Dirty pad = smear machine.
- Rinse pads after each big mop day
- Swap pads if you mop frequently
- Don’t leave damp pads sitting on the robot
6) Common Mistakes That Make Robot Vacuums “Bad”
Mistake 1: Never doing a real map
If you only run “auto” mode without mapping:
- cleaning is less efficient
- missed areas increase
- it gets stuck more
Mapping is the difference between random cleaning and smart cleaning.
Mistake 2: Ignoring cables and thin rugs
Cables are the #1 robot-killer in normal homes.
Fix it once:
- cable clips
- a charging station basket
- a “no-go zone” around messy corners
Mistake 3: Running it with a clogged filter/brush
This is why people say “it stopped picking up.”
A robot vacuum with a clogged brush is basically a slow, expensive Roomba-shaped fan.
Mistake 4: Letting the bin overflow
Overflowing bins cause:
- poor suction
- debris trails
- clogged air path
Even self-empty models need checks.
Mistake 5: Using too much cleaner in the mop tank
More solution ≠ cleaner floor.
It often causes:
- residue
- streaks
- gunky tanks
Use only what the manufacturer allows (or plain water if unsure).
Mistake 6: Not maintaining the dock (self-empty units)
Self-empty is not “zero maintenance.”
You still need to:
- change/empty the bag/bin
- clean the dock intake area occasionally
- wipe sensors/contacts
7) Troubleshooting Quick Fixes (When It Acts Weird)
It keeps missing one room
- Check door was open during mapping
- Re-map that area or use “clean room” function
- Make sure room boundaries aren’t wrong
It keeps getting stuck in the same spot
- Create a no-go zone
- Remove the problem rug/mat
- Add a small physical barrier if needed
It won’t dock properly
- Clean charging contacts
- Move dock to a clearer wall
- Avoid shiny surfaces/mirrors near dock if it confuses navigation
It leaves debris behind
- Clean brush + filter
- Check side brush is not bent
- Reduce cleaning speed or do a second pass in high-traffic zones
8) The “Best Practices” Routine (Simple and Works)
If you want the easiest reliable system:
- Daily: Run kitchen + entry zone
- Every other day: Run living room
- 2–3x/week: Bedrooms
- Weekly: Brush + filter + sensors cleaning
- Monthly: Deeper clean bin + check wheels + replace worn parts
That routine keeps floors consistently clean without turning you into a technician.